Some of the blocks have multiple boundaries and as I’m not a hunter I’m not entirely sure what these mean but I suspect at least some internal ones might be exclusion zones.
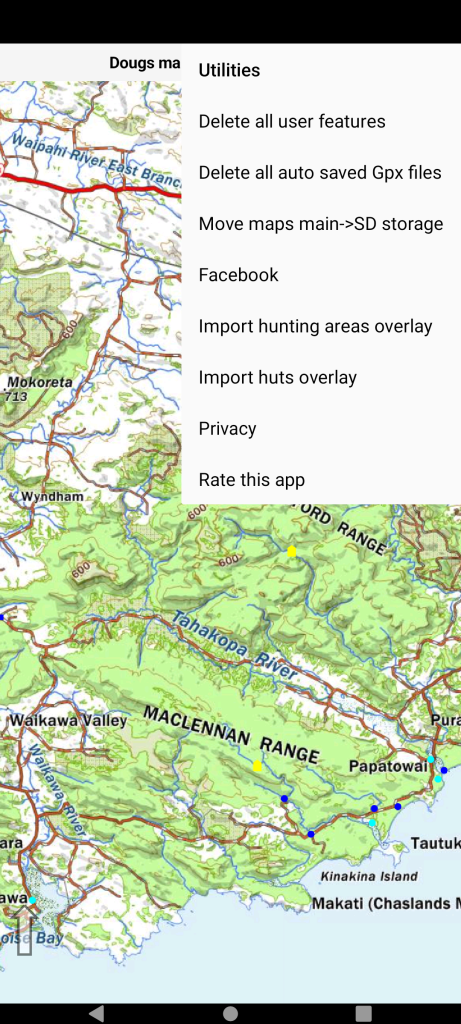
Here we have moved the map into the Catlins area to show a hunting area in the MacLennan Range.
Select the “Utilities” menu and then the “Import hunting areas overlay”. If you have previously loaded this overlay the previous one will be deleted after you accept a warning message. There will be a pause as it downloads the gpx followed by the import gpx screen doing an auto-import.
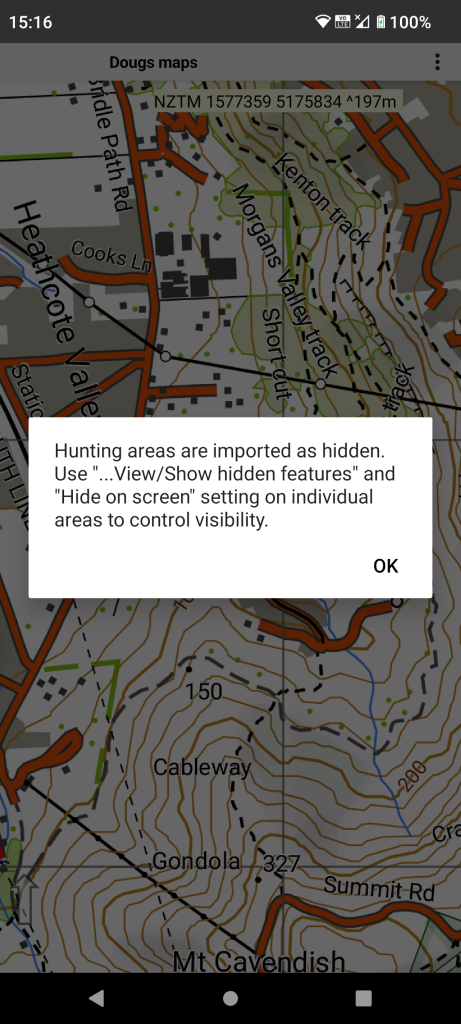
Read and OK the message. There will be a pause as it downloads the gpx file.
Hunting blocks are imported as “track” user features with a thick dashed line style so they stand out. Because there are a large number of overlay areas and they are fairly intrusive on the maps they are imported as hidden features.
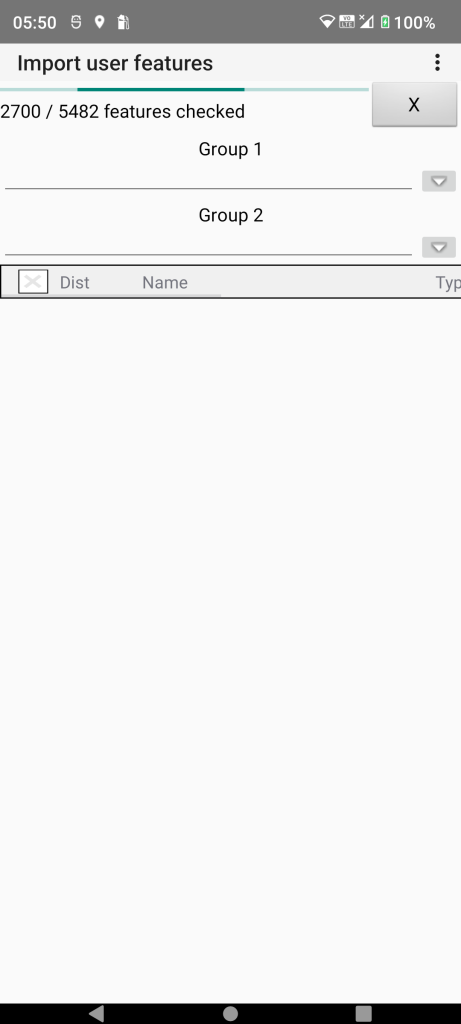
Import in progress. The rest of the process is automatic.
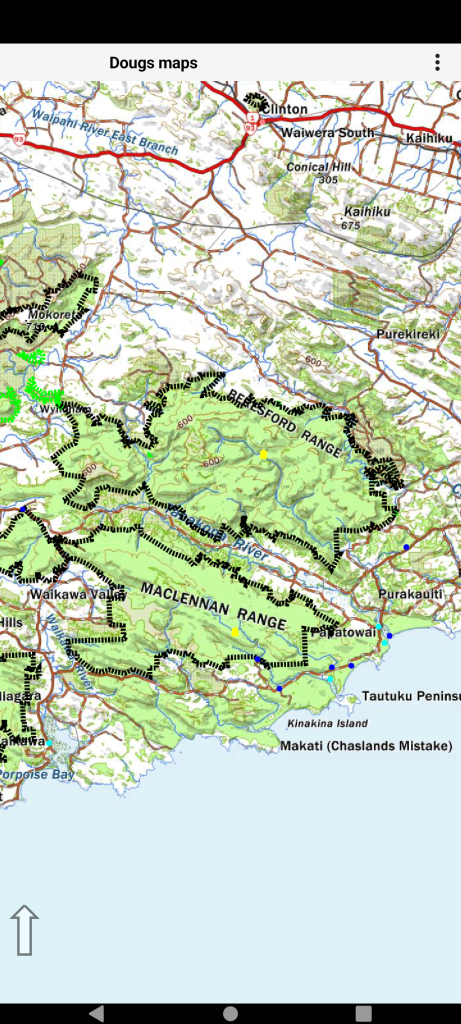
You can view them all quickly by selecting “View/Show hidden user features”.
You could leave this set permanently but I guess many hunters will have favorite areas so they might like to just set those areas to visible to keep the maps looking tidy.
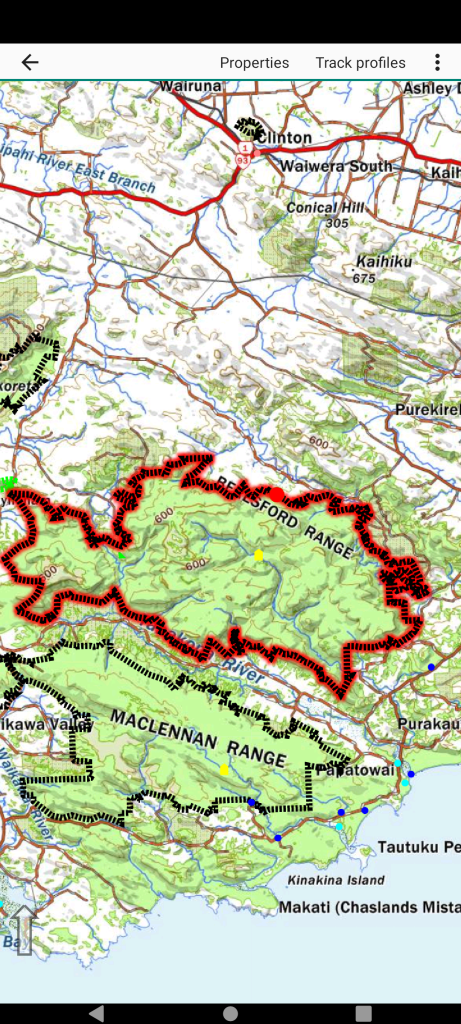
Here we are selecting a particular block in the Catlins as per Select existing track
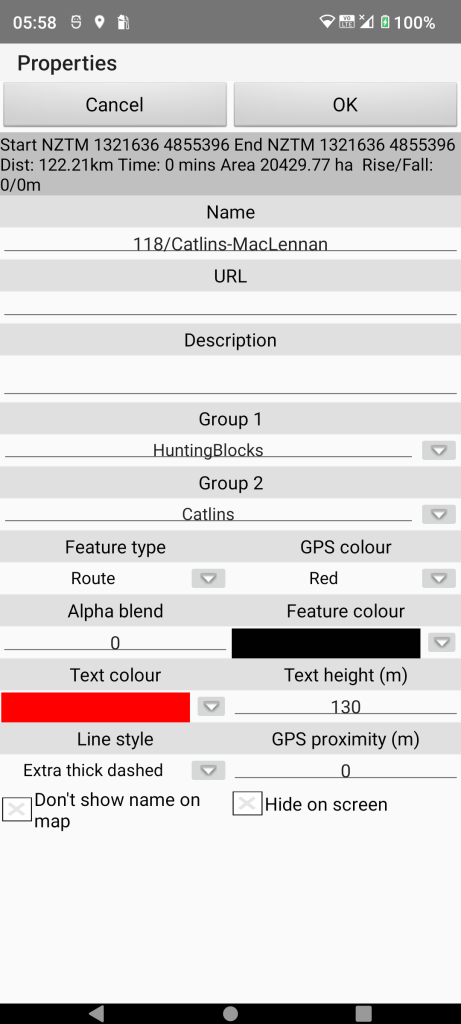
Choose the “Properties” menu item and un-check the “Hide on screen” attribute. You could also change the colour and linestyle of the boundary. Finally tap OK.
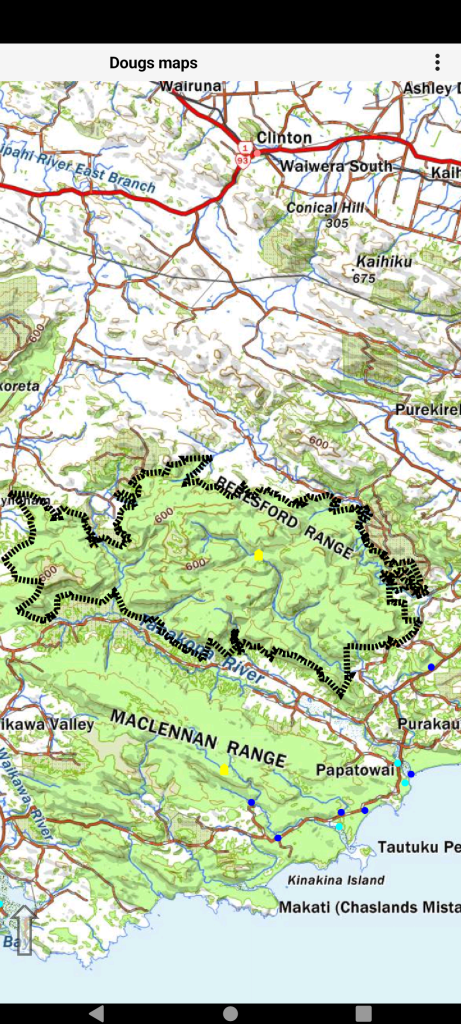
Then select the menu “View/Show hidden user features” again. Now the other hunting areas are hidden again but the selected one is visible.
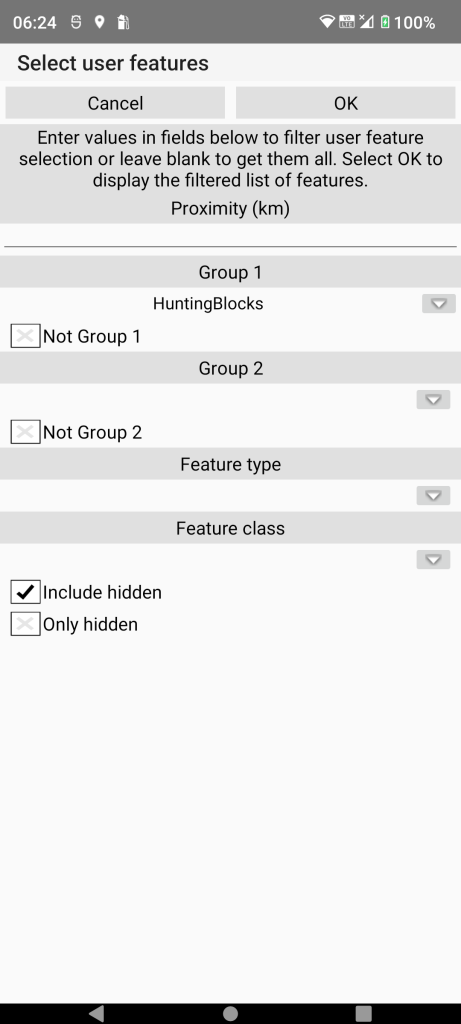
But if you really want all areas to be always visible you can do this via Listing user features. Set the “Group 1” and “Include hidden” filters as shown.
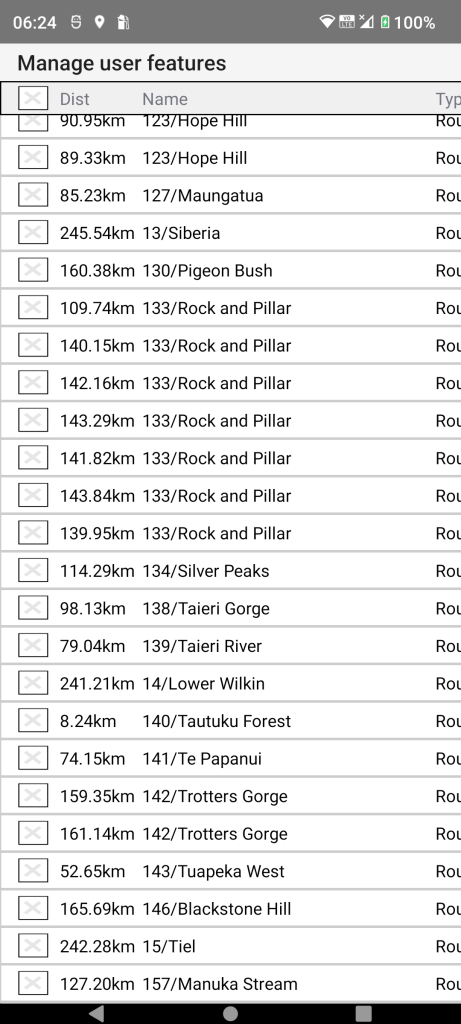
This gives you a list of all 5000+ blocks still hidden which you can make visible with the bulk properties option described in Managing user features in bulk.