Make a context menu by “press and hold” near an existing track log. In this case we pressed near the camp site at center. Select the one you want – “Route upper Beans Burn” in this case and then get a track specific menu. Then select “Settings” and get a screen with attributes we can attach to the track. We will change the colour to green by tapping on the coloured part and change the line style via the “Line style” drop down. The “Group …” attributes are just a simple text attribute you can use to bulk manage features. In the example the “Group 1” attribute links all user features relevant to the particular trip. Text height allows you to specify the map label size (Name) – nominally in map units (m) although the app might scale this. Text labels for tracks/routes will appear beside the feature if there is room. “Description” text appears in tap popups unless this is disabled in “Options”. Description text can be any length.
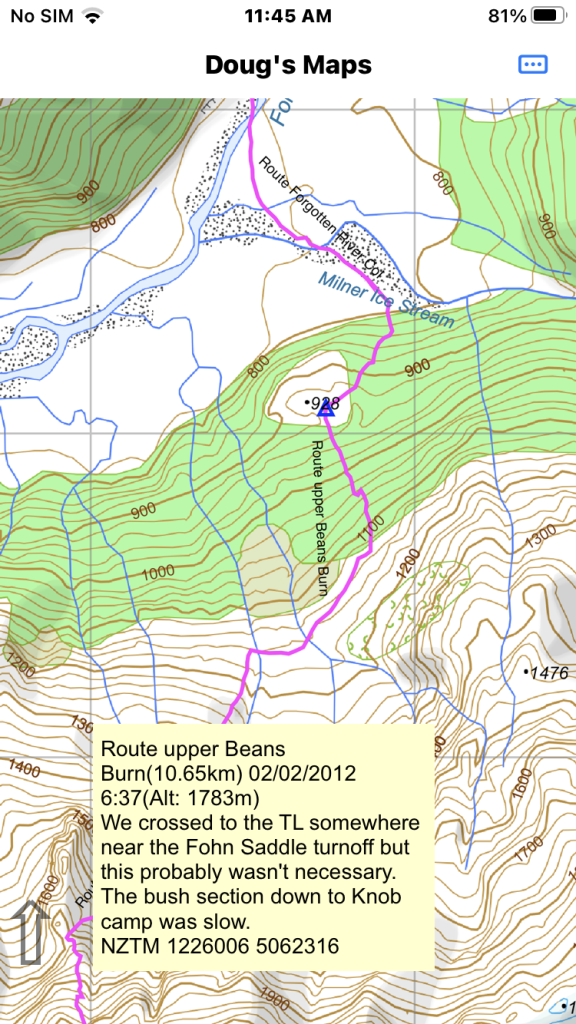
Here are some recordings of a route between the upper Beans Burn into the Forgotten. We will long press on the southernmost track log.
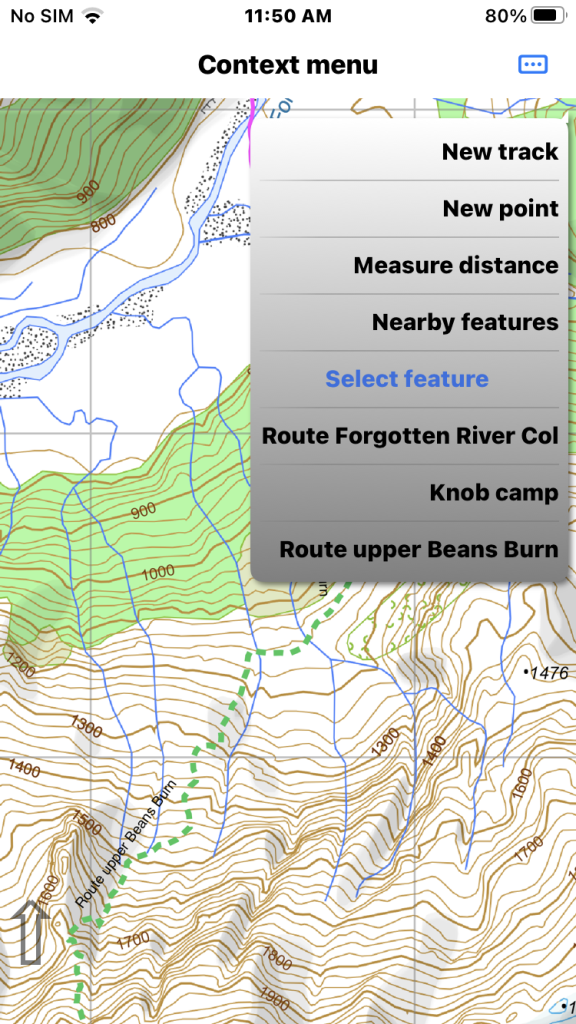
Tap the page menu button we see several options but select the “Route upper Beans Burn”. We long pressed near the camp icon so we see a list of all 3 features.
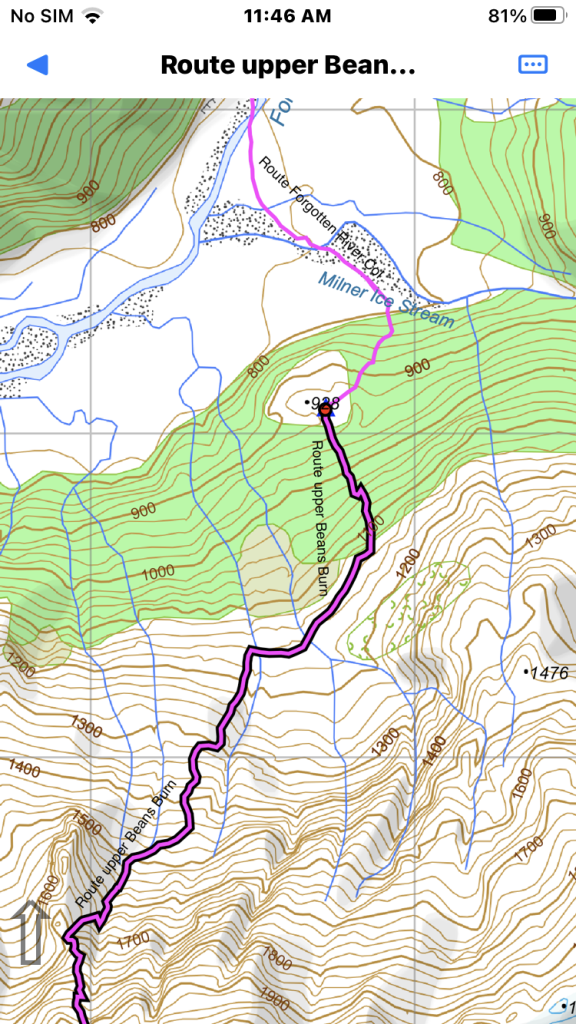
The chosen route is drawn outlined to indicate it is selected. There is now a menu of things you can do with a track. We now select the “Properties” menu item.

The name will show on map unless “Don’t show …” setting is checked. Description will show on the map tap popup unless disabled in options. The “Hide on Screen” option makes the track normally invisible.
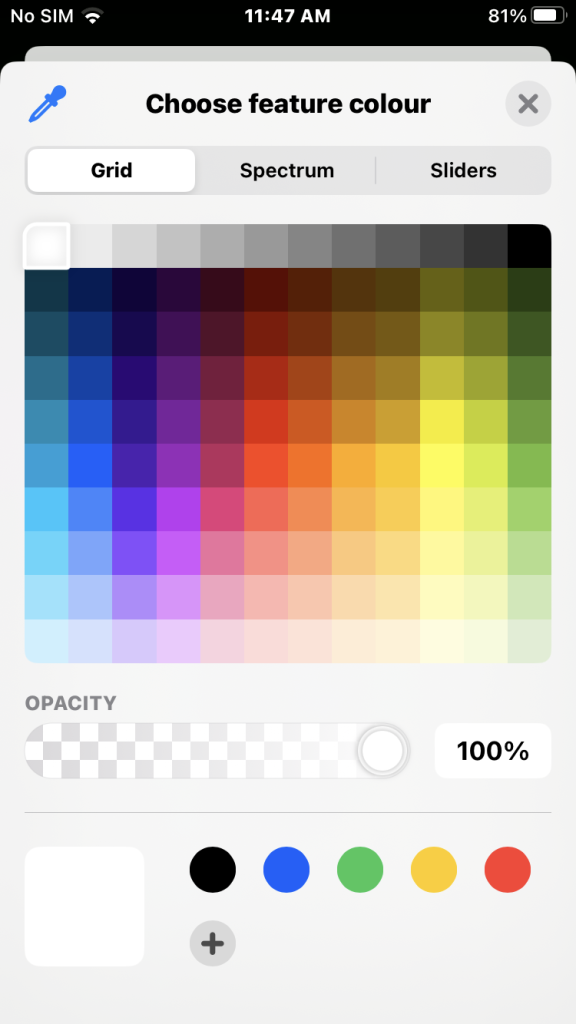
Tapping the coloured bit on the Feature colour setting brings up a colour dialog where you can select any colour you want.
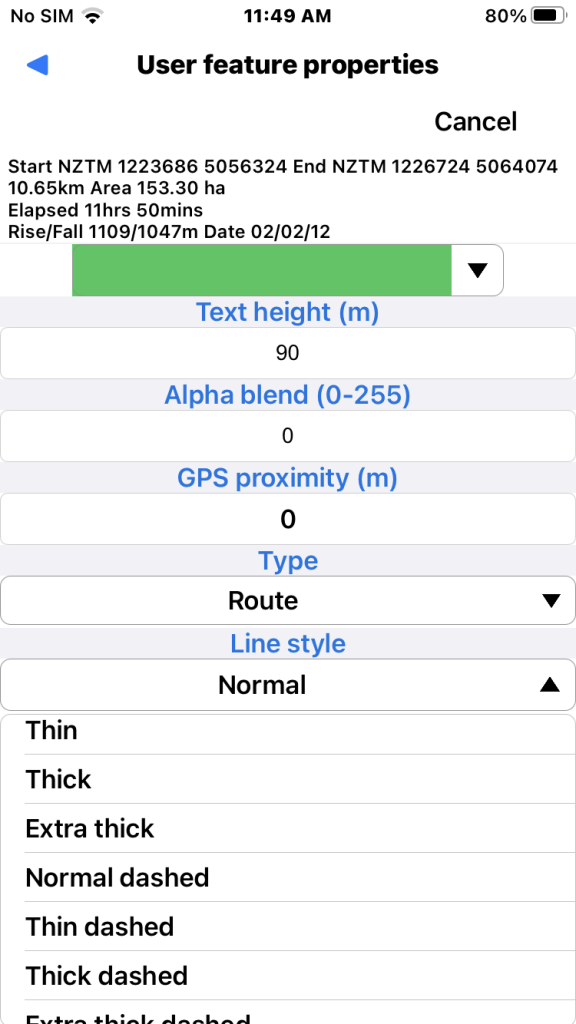
Tapping the “Line style” down arrow shows a list of line styles. Some folks like their user tracks to look like the builtin tracks so the dashed options will suit them.